When it comes to capturing high-quality images of wildlife, particularly in the context of hunting or wildlife observation, game cameras have become an indispensable tool. These cameras, also known as trail cameras, are designed to be left in the field for extended periods, capturing images of animals that trigger the camera's motion sensor. Browning, a well-known brand in the outdoor and hunting industry, offers a range of game cameras that are highly regarded for their performance, durability, and features. Here, we will discuss five tips for getting the most out of your Browning game camera, enhancing your wildlife observation experience and improving your hunting strategies.
Understanding Your Camera’s Capabilities

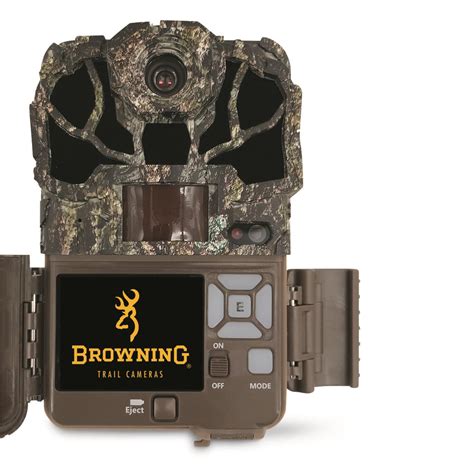
Before we dive into the tips, it’s essential to have a good understanding of what your Browning game camera can do. Browning game cameras come with a variety of features such as high-resolution image capture, video recording, infrared or black LED flash for night vision, and fast trigger speeds. Some models also offer cellular connectivity, allowing you to receive images directly to your phone or email. Knowing the specifications and capabilities of your camera will help you use it more effectively.
Choosing the Right Location
One of the most critical factors in capturing useful images with your game camera is the location where you place it. Look for game trails, food sources, water sources, and areas with known wildlife activity. Consider the direction of the sun and try to position the camera to minimize direct sunlight, which can cause overexposure or false triggers. Also, ensure the camera is at a comfortable height and angled appropriately to capture the target area effectively.
| Location Consideration | Impact on Camera Performance |
|---|---|
| Game Trails | High likelihood of capturing wildlife images, especially during peak activity hours |
| Food Sources | Attracts a variety of wildlife, useful for observing feeding patterns |
| Water Sources | Critical for observing wildlife during dry seasons or in arid environments |

Setting Up Your Camera

Once you’ve chosen your location, the next step is setting up your camera. Make sure the camera is securely fastened to a tree or a post to prevent it from being knocked over or stolen. Adjust the camera’s sensitivity and trigger speed according to the environment and the type of images you want to capture. If your camera has adjustable flash settings, consider using the “low glow” or “no glow” option to minimize the disturbance to wildlife, especially if you’re trying to capture images of wary or nocturnal animals.
Maintenance and Checking
Regular maintenance and checking of your game camera are crucial for ensuring it continues to function properly and capture high-quality images. Check the camera’s batteries regularly, as dead batteries can render your camera useless. Also, make sure the memory card has enough space to store images. Cleaning the camera lens and checking for any debris or damage around the camera can also improve image quality and prevent malfunctions.
Key Points
- Choose locations with high wildlife activity for better image capture rates
- Understand and adjust your camera's settings based on the environment and target species
- Regular maintenance, including battery checks and cleaning, is essential for optimal performance
- Consider the type of flash your camera uses and its impact on wildlife
- Positioning the camera to minimize direct sunlight can improve image quality
Analyzing Your Images
After collecting images from your game camera, analyzing them can provide valuable insights into wildlife behavior, patterns, and population dynamics. Look for information such as the time of day when different species are most active, the sex and age of the animals, and any signs of disease or injury. This information can be particularly useful for hunters, helping them develop more effective and ethical hunting strategies. For wildlife enthusiasts, it offers a unique window into the secret lives of animals in their natural habitats.
Future Developments and Trends
The technology behind game cameras is continually evolving, with advancements in image resolution, trigger speed, and connectivity. Future developments are likely to include improved cellular connectivity options, allowing for real-time image transmission and potentially even live viewing. Additionally, the integration of artificial intelligence (AI) could enable cameras to automatically identify species, analyze behavior, and even alert users to unusual activity. Staying updated with these trends can help you make the most out of your game camera and enhance your wildlife observation experience.
What is the best location to place a Browning game camera?
+The best location for a Browning game camera is in areas with high wildlife activity, such as game trails, near food sources, or by water sources. Consider the species you are targeting and their habits when choosing a location.
How often should I check my game camera?
+It's a good idea to check your game camera every 1-2 weeks, depending on the memory card capacity and battery life. This ensures you capture all the images and can adjust the camera settings as needed.
Can I use my Browning game camera for security purposes?
+Yes, Browning game cameras can be used for security purposes due to their motion detection and night vision capabilities. They can be placed around properties to monitor for intruders or wildlife that may be causing damage.
In conclusion, maximizing the effectiveness of your Browning game camera involves a combination of understanding the camera’s capabilities, choosing the right location, setting up the camera correctly, maintaining it regularly, and analyzing the images it captures. By following these tips and staying informed about the latest developments in game camera technology, you can enhance your wildlife observation experience and make more informed decisions in your hunting or conservation efforts.